Home Roasting Coffee Beans: A Beginner’s Guide
Roasting your own coffee at home opens up so many possibilities for flavor, freshness, and fun experimentation. If you love that first morning cup and have wondered what goes into making delicious, fresh roasted coffee, home roasting is definitely worth a try. Not only does it give you more control over taste, but you’ll also end up with coffee that just tastes better than most store bought beans.
I started roasting coffee at home a few years ago after my uncle told how it had upped his coffee game, and was honestly surprised at how straightforward it can be once you know the basics. There’s a bit of a learning curve, but a little practice goes a long way. Here’s what I’ve learned about getting started with home roasting, plus some practical tips for beginners. If you want your cup of coffee to be next-level cool, home roasting is a solid path to get there.
Understanding Coffee Roasting Basics
Before trying your first roast, it helps to know what actually happens when coffee beans get roasted. Coffee beans start as small, green seeds from the coffee cherry. Green beans have almost no aroma and taste kind of grassy or even like peas.
Roasting brings out everything we recognize and love about coffee: flavor, aroma, and color. During the roasting process, beans go from green to yellow, then tan, brown, and ultimately darker brown as different sugars and acids transform. This is when those nutty, chocolatey, or fruity flavors develop, and every detail of the roast can influence the final cup. That means your hands-on technique makes a huge difference.
Common Roast Levels
- Light Roast – Bright, a bit acidic, highlights the bean’s original flavors.
- Medium Roast – Balanced acidity with more sweetness and body.
- Dark Roast – Lower acidity, deeper chocolate and toasted flavors, more oils on the surface.
Most home roasters start by aiming for a light or medium roast, since it’s easier to control and less likely to taste burnt. It’s a good spot to figure out the flavor profile you enjoy, and you can tweak things as you go.
Tools and Equipment You’ll Need
You don’t need anything fancy or expensive to get started roasting at home. Plenty of people use gear they already have in their kitchens, while others like to grab a dedicated coffee roaster once they get more into it. Here are the basic tools I use:
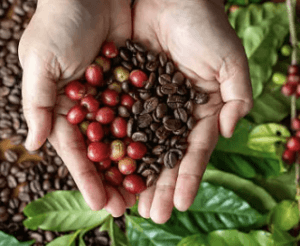
- Green Coffee Beans – Unroasted beans from a reputable coffee supplier. Try a small bag first to experiment.
- Roasting Device – This could be a popcorn maker, a pan on the stove, an oven tray, or a home coffee roaster.
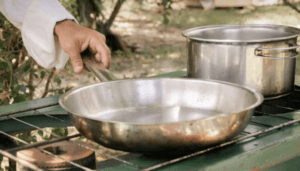
- Colander or Sieve – For cooling the beans fast and removing flaky chaff.
- Stirring Utensil – Wood or metal spoon for pan or oven methods.
- Fan (Optional) – Helps blow away chaff during cooling.
If you’re just starting out and don’t want to buy new equipment, stovetop pan roasting or using an air popcorn popper is a super popular way to go. Just keep in mind: whatever you use will smell like roasted coffee for a while, so don’t choose your nicest saucepan.
If you want to step up your setup down the line, home coffee roasters can add consistency and make larger batches a lot easier. However, most people find pan or popper roasting is the best way to get the hang of it without any big investment.
Simple Roasting Methods for Beginners
I’ve tried a few beginner friendly methods and found two that work really well: pan roasting and air popper roasting. Here’s how these work:
Pan Roasting on the Stove
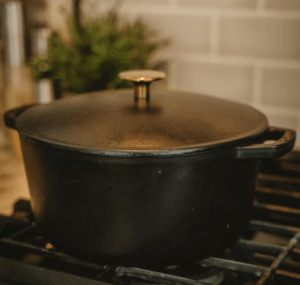
- Preheat a heavy skillet (cast iron works best) on medium heat.
- Add a thin layer of green beans, just enough to cover the pan bottom.
- Stir the beans constantly for even heating and to prevent burning.
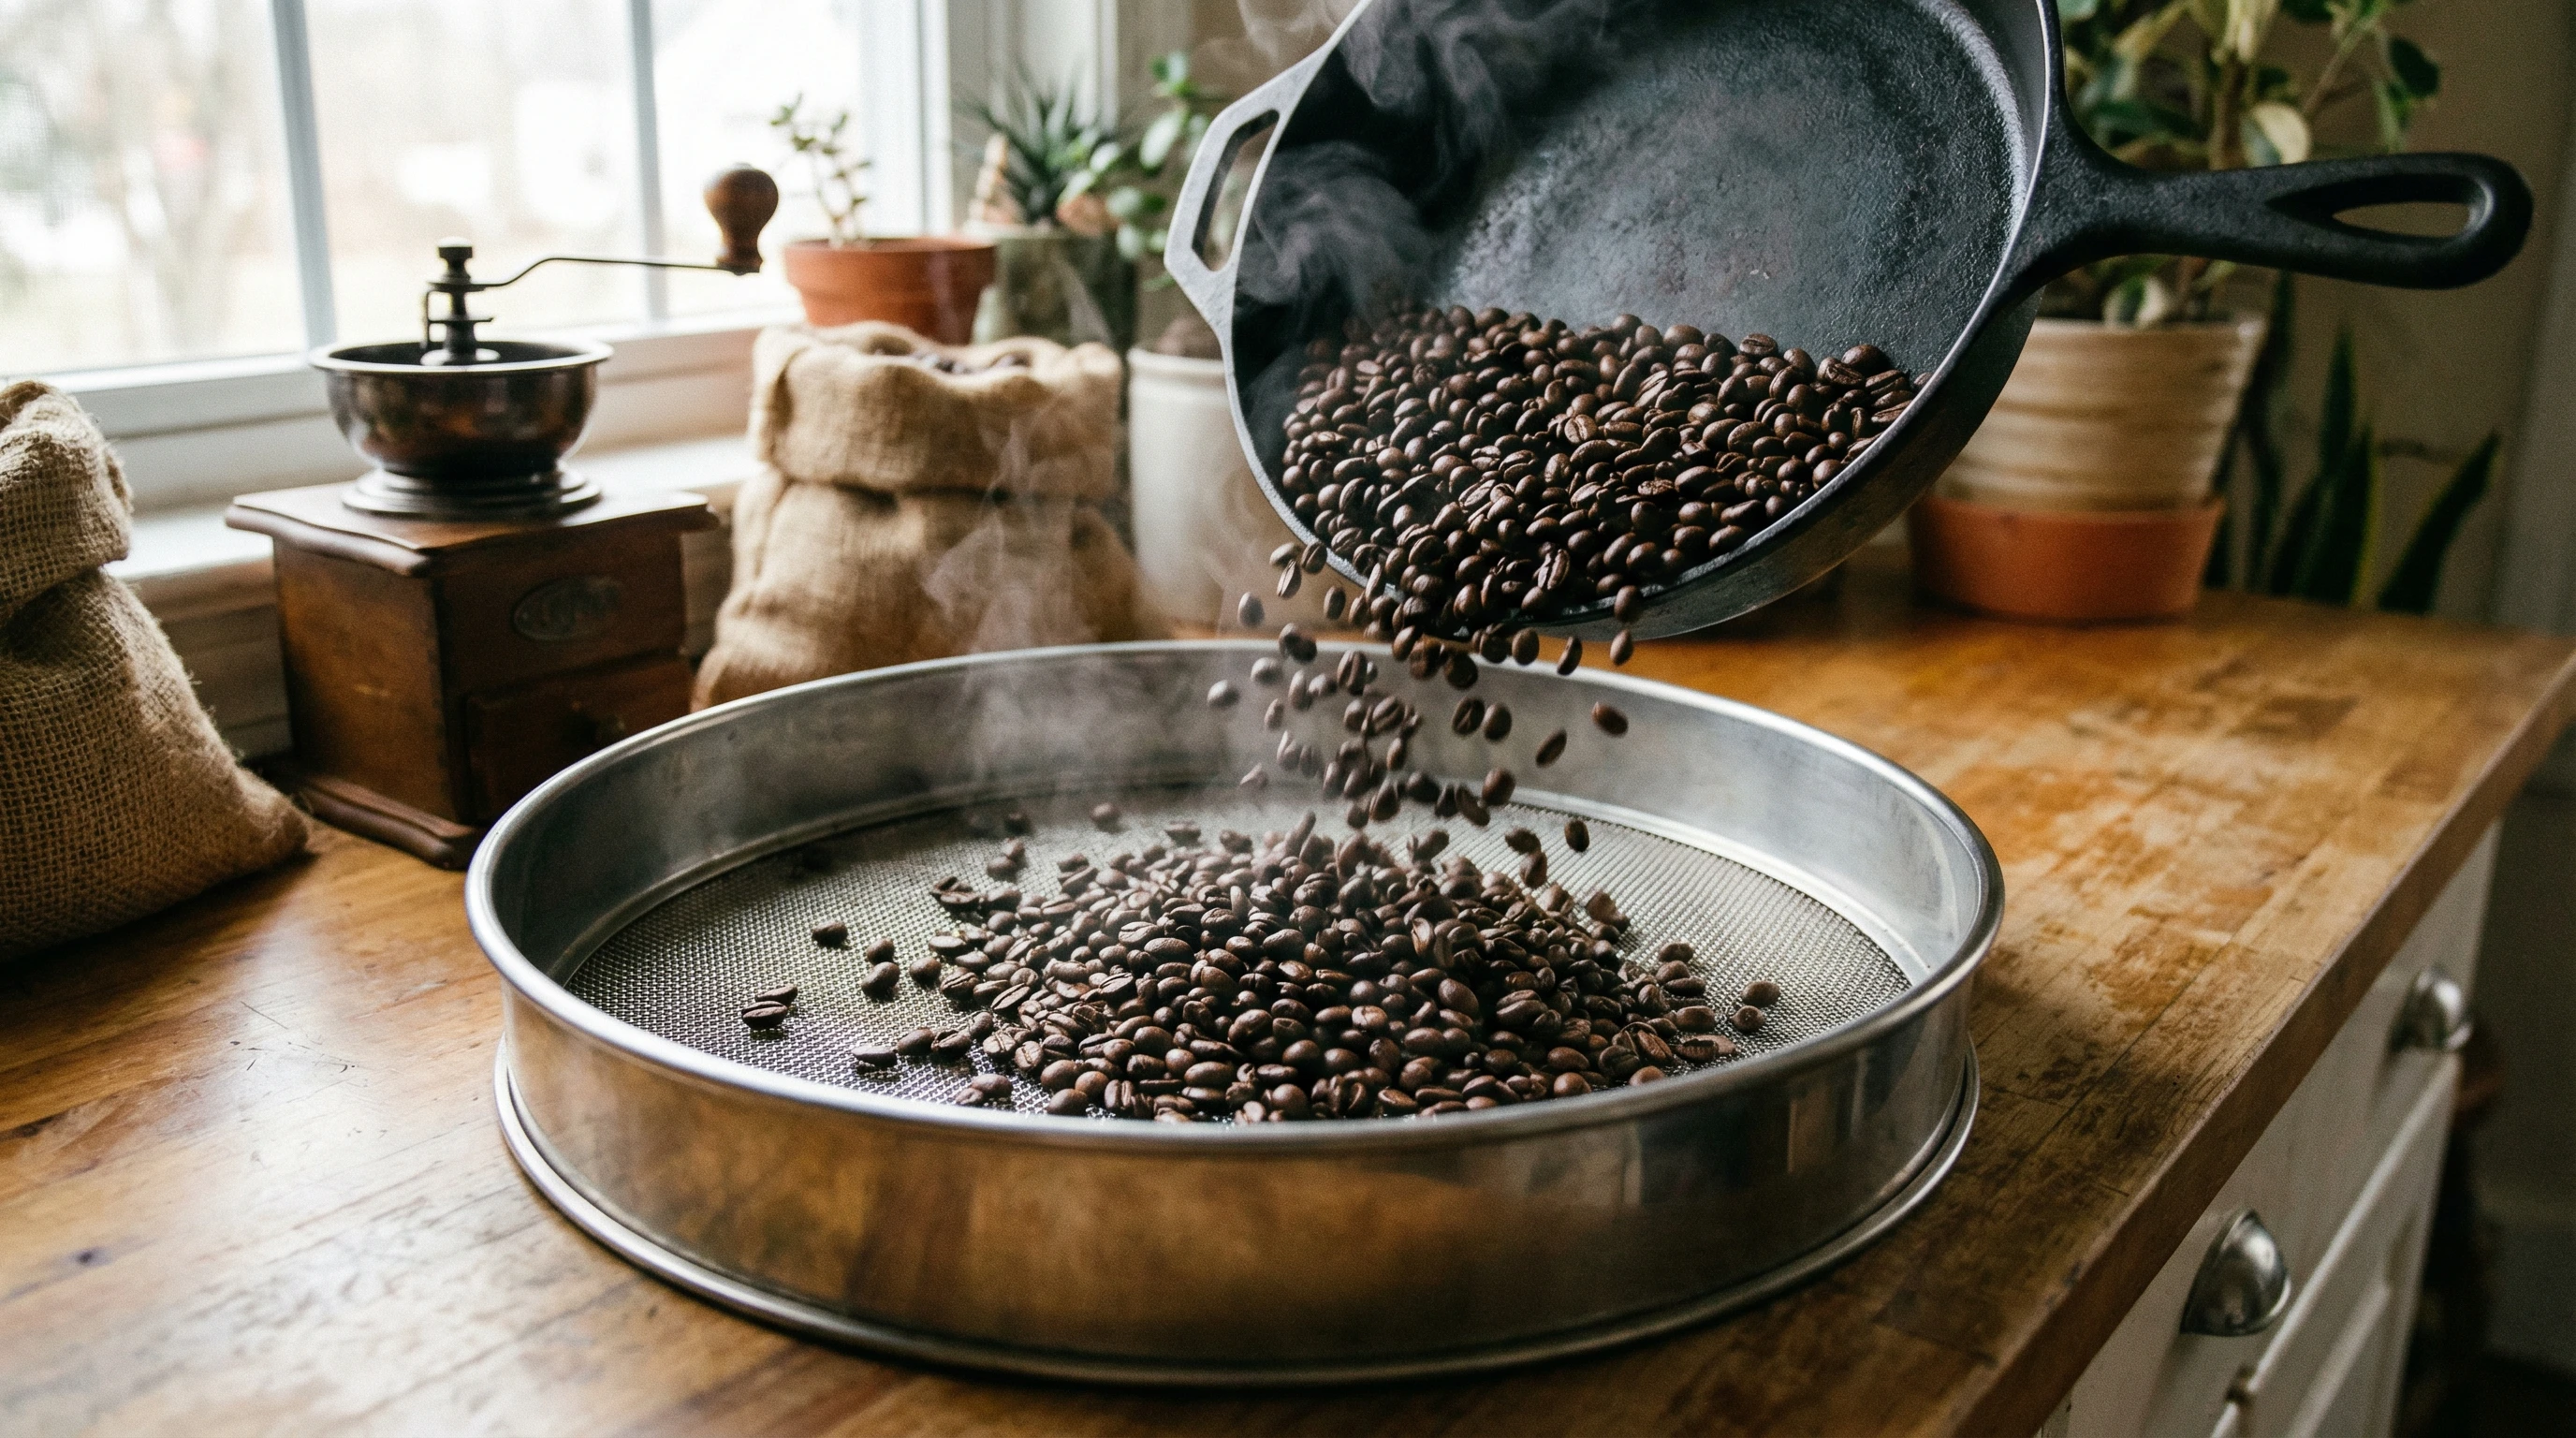
- Listen for the first crack (sounds like popcorn popping) around 5 to 7 minutes. For a light or medium roast, stop roasting 1 to 2 minutes after first crack. For darker, keep going until the second crack.
- Pour beans into a metal colander and stir or toss them to cool quickly.
Using a Hot Air Popcorn Popper
- Preheat the popper (if your model allows).
- Add about 1/2 cup of green beans and place a bowl underneath to catch chaff.
- Let the beans spin and roast, listening closely for cracks. Stir occasionally with a wooden spoon if they’re not moving well.
- After 6 to 8 minutes (depending on roast preference), dump the beans into your colander to cool.
Both of these methods are affordable, simple, and perfect for testing small batches. Ventilate your kitchen well; home roasting is a bit smoky and pretty fragrant! Fans or open windows really help tone down the lingering smell.
Spotting the Roast Stages
The trickiest part for most beginners is figuring out when the beans are roasted just right. Here’s a quick rundown of what to look for:
- First Crack: Light popping noises mean the beans are reaching light to medium roast. This is a great stopping point if you want a brighter cup.
- Second Crack: Louder, sharper cracks signal a dark roast, and beans will look oily soon after. Stop here if you like bolder flavors.
- Chaff: This papery husk will flake off; totally normal. Sift it out as you cool the beans.
The smell, color, and sound all change during roasting, so I keep an eye, ear, and nose on the process. There’s no perfect timer for home roasting, it’s all about those cues. With practice, you’ll get a feel for your favorite roast level.
Degassing and Storing Fresh Roasted Beans

Right after roasting, your coffee beans will be super aromatic but not quite ready to brew. Freshly roasted beans give off CO2 for up to 24 hours. This “degassing” makes a difference in taste and extraction. I usually let my beans rest (uncovered or loosely covered) for 12 to 24 hours, then store them in an airtight container away from light and heat.
- For best flavor, use your beans within two weeks of roasting.
- Don’t store them in the fridge or freezer if you’re using them daily; the moisture can mess with flavor.
If you roast more than you can use in two weeks, consider sharing some with friends or family. Not only does this give you feedback on your roasting, but it lets others enjoy a next-level cool coffee experience.
Another way to extend your use is to vacuum seal and freeze your already roasted and rested beans.
Troubleshooting & Tips for First Roasts
Beans Roast Unevenly?
Try stirring more often or reducing your batch size. Smaller batches are easier to control, especially on the stove or in a popcorn popper.
Coffee Tastes Bitter or Burnt?
This usually means the beans roasted too long or got too hot. Lower the heat or try shortening your roast. Even a minute can make a huge difference in flavor.
Beans Taste Flat?
Beans may be under roasted (pulling them too soon after the first crack), or you might just prefer a bit more development. Let them roast a little longer next time. Keep good notes during each batch so you can spot patterns and make improvements.
Frequently Asked Questions
Is home roasting coffee worth the effort?
If you love exploring new flavors and want ultimate freshness, absolutely. Roasting at home gives you better control and opens up a huge world of coffee beans you can’t easily buy pre roasted, especially single origin or rare varieties. Plus, every cup you brew from home roasted beans has your own personal touch.
How smoky does it get?
Most methods, especially pan roasting, produce a pretty noticeable amount of smoke and smell. Good ventilation or roasting outdoors is helpful. Air poppers are a bit cleaner but still give off chaff and aroma. Open a window or turn on a fan to tone down lingering smells.
Where can I buy green coffee beans?
You can order green beans online from specialty coffee retailers or sometimes find them at local roasters willing to sell you a bag. Try a couple different origins. Some have citrusy highlights, while others are chocolatey or spicy. Sampling different beans is part of the fun and helps you figure out which flavors you like best.
Do I need any special training?
Nope. You’ll learn a lot by doing. Watching a few YouTube videos, reading guides like this one, and roasting a small test batch is the best way to pick it up. Stay curious and don’t be afraid to make a few mistakes, since roasting is an adventure in itself.
Getting the Most Out of Home Roasting
The fun of home roasting is how much you get to personalize it. Experiment with how long you roast, which beans you choose, and even your cooling process. I like to write down my roast times and tasting notes so I can tweak things next time. Making notes about brew methods or grind size also helps connect the dots between roasting and the way your coffee turns out.
Some people even blend two or more origins after roasting, mixing up flavors for their own signature cup. Try splitting a batch: take half out after the first crack, and let the rest reach a dark roast. Mix them together and see which ratio wins you over. There’s always something new to try when you roast at home.
Quick Tips for Success:

- Start with small batches and simple gear.
- Use your senses; watch, sniff, and listen as the beans roast.
- Write down what works for you. Notes make it easier to improve each time.
- Enjoy the process! It can be a learning experience and a way to really upgrade your daily coffee ritual.
- Be patient and keep experimenting. Each batch brings new lessons and a deeper appreciation for coffee.
Home coffee roasting is a craft anyone can pick up with a little patience and practice. Once you’ve tasted a mug brewed from freshly roasted beans, you may never want to go back to store bought coffee again. If you stick with it, you’ll stumble upon flavors you’d never expect—and make every morning a bit more special with your own next-level cool coffee creation. Savor the Sip!